一、本文介绍
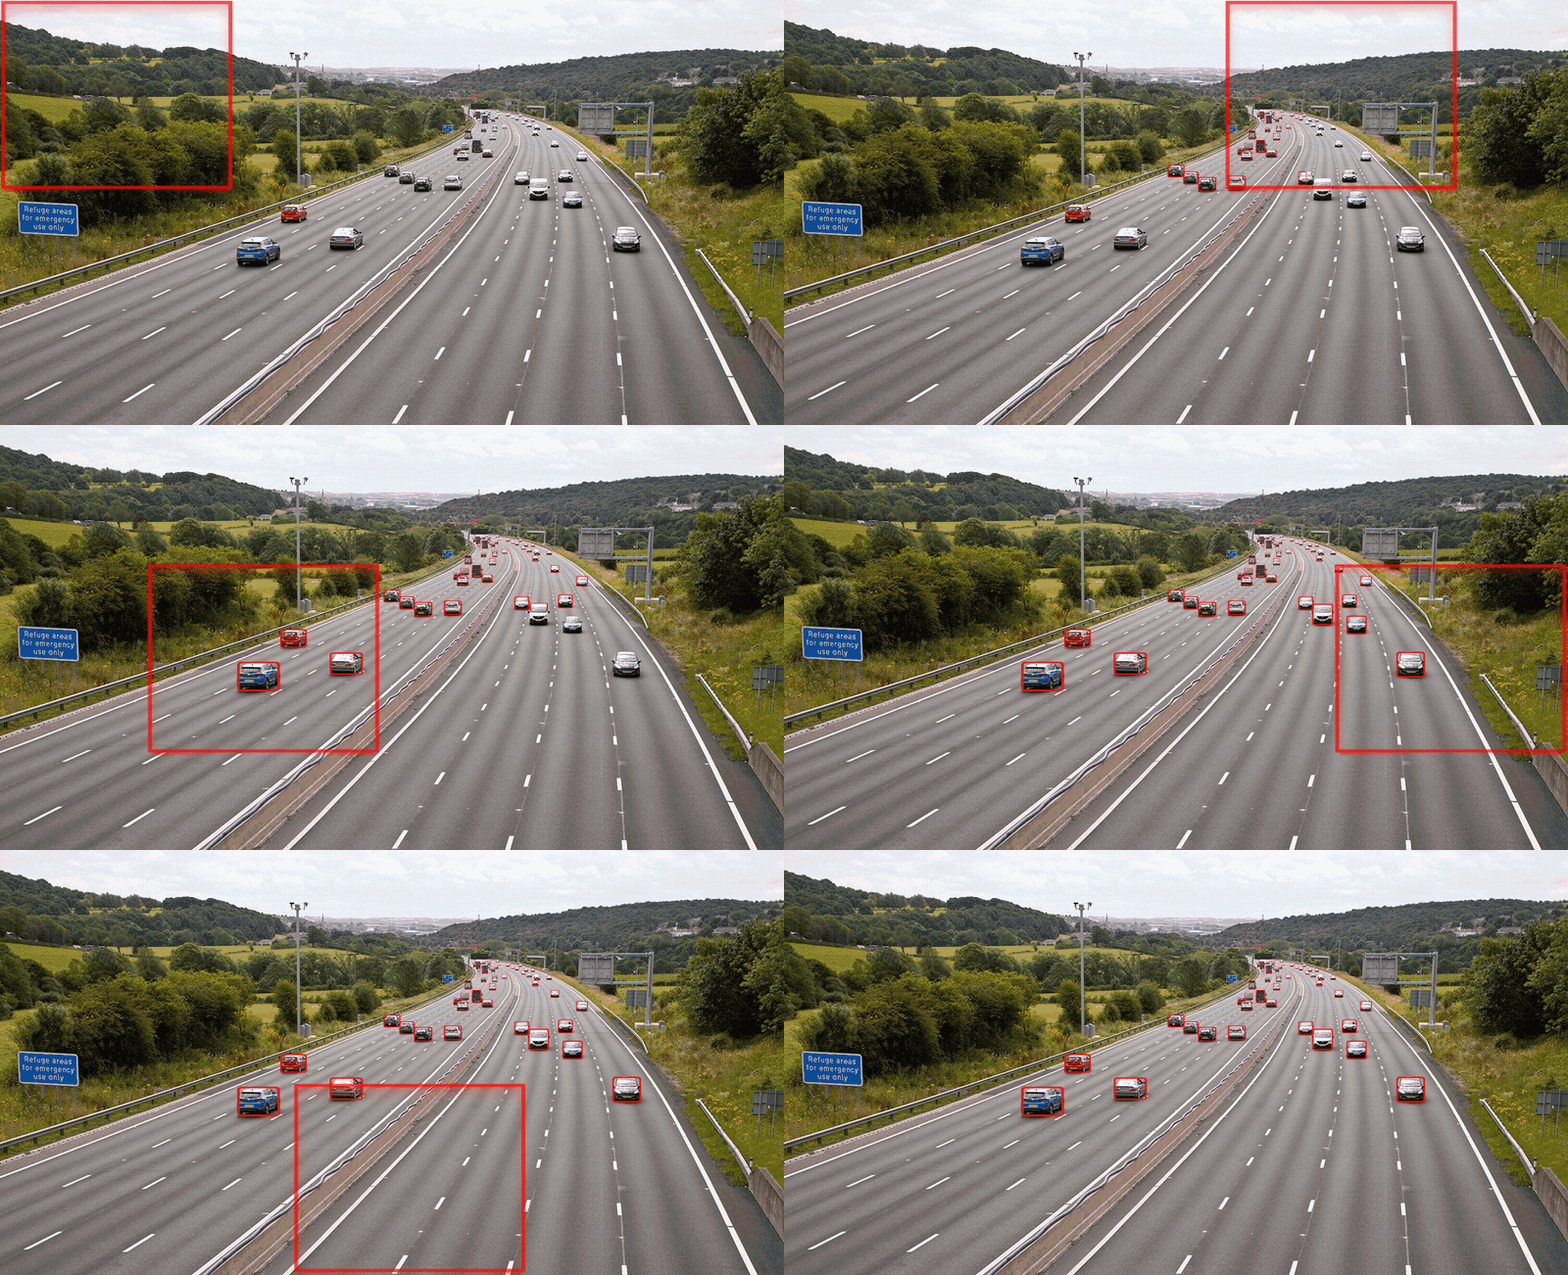
本文给大家带来的是进阶实战篇,利用辅助超推理算法SAHI进行推理,同时官方提供的版本中支持视频,我将其进行改造后不仅支持视频同时支持图片的推理方式,SAHI主要的推理场景是针对于小目标检测(检测物体较大的不适用,因为会将一些大的物体切割开来从而导致误检),检测效果非常的好对于小目标检测,尤其是无人机航拍的图片检测或者远距离拍摄的图片,本文中附代码+详细的参数讲解并有教程示例!
二、论文的提出

论文链接: 官方论文地址点击即可跳转
项目地址: 官方的项目地址,但是本文的内容借鉴的是YOLOv8官方的并不是此处的。
**摘要:**在监视应用中,检测场景中的小物体和远处的物体是一个主要挑战。这些物体在图像中由少量像素表示,缺乏足够的细节,使它们难以使用传统检测器检测到。在这项工作中,提出了一种名为"Slicing Aided Hyper Inference(SAHI)"的开源框架,该框架提供了一种通用的切片辅助推理和微调流程,用于小物体检测。所提出的技术是通用的,因为它可以应用在任何现有的目标检测器之上,无需进行任何微调。实验证明,在Visdrone和xView航拍目标检测数据集上使用目标检测基线,所提出的推理方法可以分别将FCOS、VFNet和TOOD检测器的目标检测AP提高6.8%、5.1%和5.3%。此外,通过切片辅助微调,检测准确性可以进一步提高,分别在相同顺序上累积提高12.7%、13.4%和14.5%的AP。所提出的技术已与Detectron2、MMDetection和YOLOv5模型集成。
三、项目完整代码
帮我们将这个代码,复制粘贴到我们YOLOv8的仓库里然后创建一个py文件存放进去即可。
# Ultralytics YOLO 🚀, AGPL-3.0 license
import os
os.getcwd()
import argparse
from pathlib import Path
import cv2
from sahi import AutoDetectionModel
from sahi.predict import get_sliced_prediction
from sahi.utils.yolov8 import download_yolov8s_model
from ultralytics.utils.files import increment_path


def run(weights="yolov8n.pt", source="test.mp4", view_img=False, save_img=False, exist_ok=False):
    """
    Run object detection on a video using YOLOv8 and SAHI.
    Args:
        weights (str): Model weights path.
        source (str): Video file path.
        view_img (bool): Show results.
        save_img (bool): Save results.
        exist_ok (bool): Overwrite existing files.
    """

    # Check source path
    if not Path(source).exists():
        raise FileNotFoundError(f"Source path '{source}' does not exist.")

    yolov8_model_path = f"{weights}"
    download_yolov8s_model(yolov8_model_path)
    detection_model = AutoDetectionModel.from_pretrained(
        model_type="yolov8", model_path=yolov8_model_path, confidence_threshold=0.6, device="cpu"
    )
    if source[-3:] == 'mp4':
        # Video setup
        videocapture = cv2.VideoCapture(source)
        frame_width, frame_height = int(videocapture.get(3)), int(videocapture.get(4))
        fps, fourcc = int(videocapture.get(5)), cv2.VideoWriter_fourcc(*"mp4v")

        # Output setup
        save_dir = increment_path(Path("ultralytics_results_with_sahi") / "exp", exist_ok)
        save_dir.mkdir(parents=True, exist_ok=True)
        video_writer = cv2.VideoWriter(str(save_dir / f"{Path(source).stem}.mp4"), fourcc, fps, (frame_width, frame_height))

        while videocapture.isOpened():
            success, frame = videocapture.read()
            if not success:
                break

            results = get_sliced_prediction(
                frame, detection_model, slice_height=256, slice_width=256, overlap_height_ratio=0.2, overlap_width_ratio=0.2
            )
            object_prediction_list = results.object_prediction_list

            boxes_list = []
            clss_list = []
            for ind, _ in enumerate(object_prediction_list):
                boxes = (
                    object_prediction_list[ind].bbox.minx,
                    object_prediction_list[ind].bbox.miny,
                    object_prediction_list[ind].bbox.maxx,
                    object_prediction_list[ind].bbox.maxy,
                )
                clss = object_prediction_list[ind].category.name
                boxes_list.append(boxes)
                clss_list.append(clss)

            for box, cls in zip(boxes_list, clss_list):
                x1, y1, x2, y2 = box
                cv2.rectangle(frame, (int(x1), int(y1)), (int(x2), int(y2)), (56, 56, 255), 2)
                label = str(cls)
                t_size = cv2.getTextSize(label, 0, fontScale=0.6, thickness=1)[0]
                cv2.rectangle(
                    frame, (int(x1), int(y1) - t_size[1] - 3), (int(x1) + t_size[0], int(y1) + 3), (56, 56, 255), -1
                )
                cv2.putText(
                    frame, label, (int(x1), int(y1) - 2), 0, 0.6, [255, 255, 255], thickness=1, lineType=cv2.LINE_AA
                )

            if view_img:
                cv2.imshow(Path(source).stem, frame)
            if save_img:
                video_writer.write(frame)

            if cv2.waitKey(1) & 0xFF == ord("q"):
                break
        video_writer.release()
        videocapture.release()
        cv2.destroyAllWindows()
    else:
        results = get_sliced_prediction(
            source, detection_model, slice_height=256, slice_width=256, overlap_height_ratio=0.2, overlap_width_ratio=0.2
        )
        # 保存检测图片
        results.export_visuals(export_dir="demo_data/")


        image = cv2.imread('demo_data/prediction_visual.png')

        # 检查是否成功读取图片
        if image is not None:
            # 显示图片
            cv2.imshow('PNG Image', image)

            # 等待按键输入,并关闭窗口
            cv2.waitKey(0)
            cv2.destroyAllWindows()
        else:
            print("Failed to read PNG image.")
def parse_opt():
    """Parse command line arguments."""
    parser = argparse.ArgumentParser()
    parser.add_argument("--weights", type=str, default="yolov8n.pt", help="initial weights path")
    parser.add_argument("--source", type=str, default='ultralytics/assets/bus.jpg', help="video file path or Photo")
    parser.add_argument("--view-img", action="store_true", default=True, help="show results")
    parser.add_argument("--save-img", action="store_true", help="save results")
    parser.add_argument("--exist-ok", action="store_true", help="existing project/name ok, do not increment")
    return parser.parse_args()


def main(opt):
    """Main function."""
    run(**vars(opt))


if __name__ == "__main__":
    opt = parse_opt()
    main(opt)
四、参数解析
下面上面项目核心代码的参数解析,共有10个,能够起到作用的参数并不多。
| 参数名 | 参数类型 | 参数讲解 | |
|---|---|---|---|
| 0 | weights | str | 用于检测视频的权重文件地址(可以是你训练好的,也可以是官方提供的) |
| 1 | source | str | 视频文件的地址或者图片的地址,官方本身只支持图片,我这里加了点处理从而支持图片的检测,只需要输入地址即可模型会自动进行判断。 |
| 2 | view-img | bool | 是否显示视频结果 ,就是它在控制台会输出结果,如果设置为True就显示图像结果 |
| 3 | save-img | bool | 是否保存检测的结果,文件会存放在同级目录下的新文件夹内 |
| 4 | exist-ok | bool | 保存文件的名字检测的,大家不用理会这个参数 |
五、项目的使用教程
5.1 步骤一
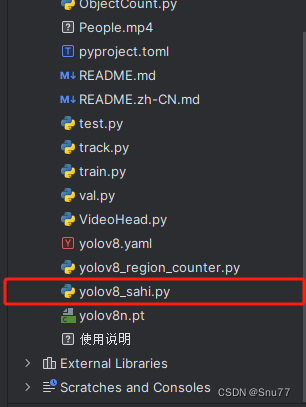
我们在Yolo仓库的目录下创建一个py文件将代码存放进去,如下图所示。
5.2 步骤二
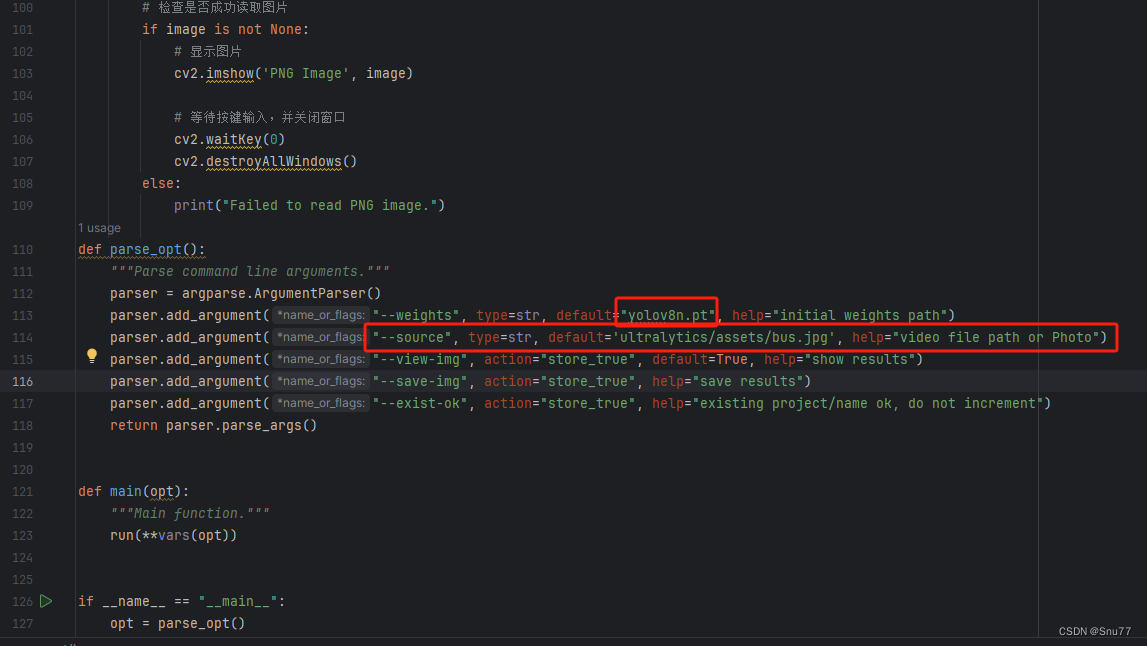
我们按照参数解析部分的介绍填好大家的参数,主要配置的有两个一个就是权重文件地址另一个就是视频或者图片的地址。
5.3 步骤三
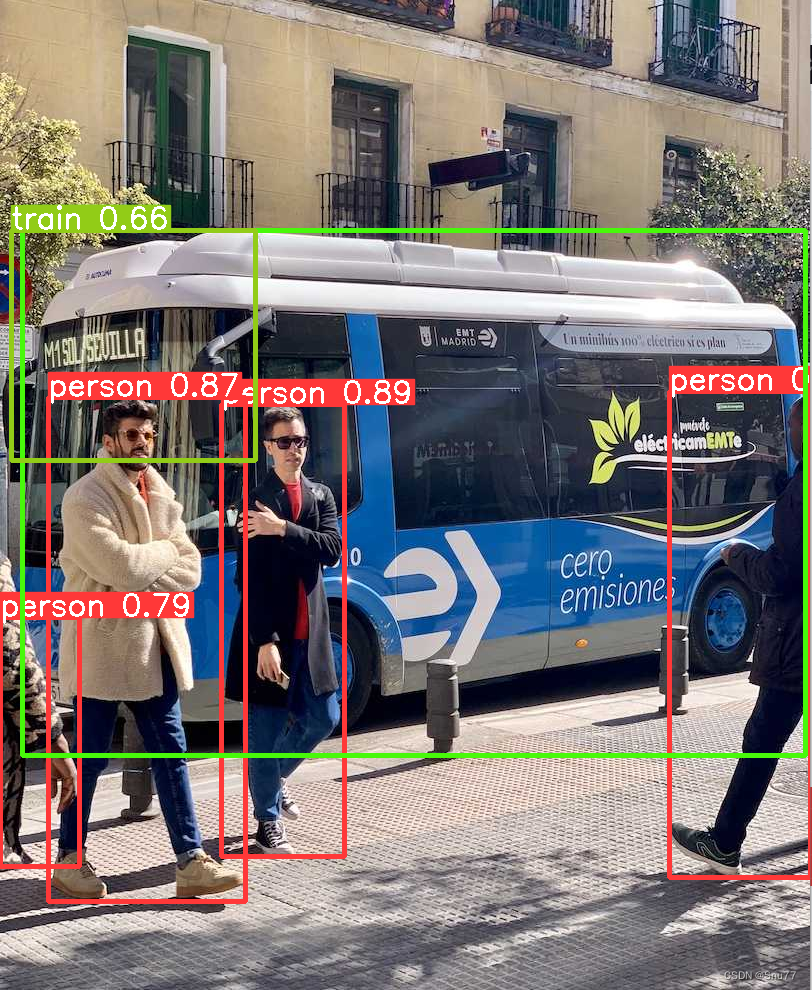
我们填写之后运行文件即可,此时会弹出视频框或者图片检测框。
5.4 重要的超参数!
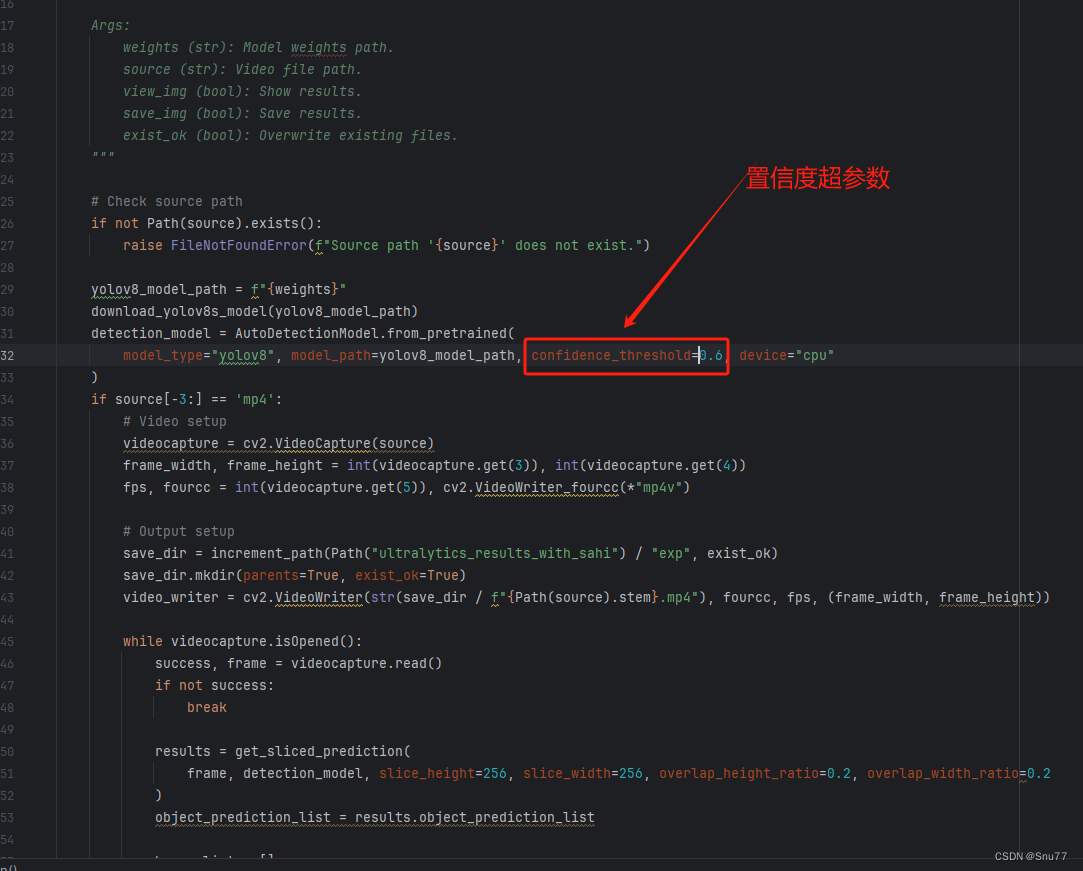
还有一个置信度的超参数比较重要,大家可以根据自己的需求填写。
